Add Company Branding to Microsoft 365
In this guide, you’ll learn how to add your company logo to the Microsoft 365 sign-in page. You’ll also learn how to modify the Microsoft 365 theme and apply your logo across various Microsoft 365 portals.
Prerequisites
Section titled “Prerequisites”To add custom branding one of the following licenses are required:
- Microsoft Entra ID P1 or P2
- Microsoft 365 Business Standard
- SharePoint (Plan 1)
- The Organizational Branding Administrator role is the minimum role required to customize company branding.
Add logo to Microsoft 365 sign in page
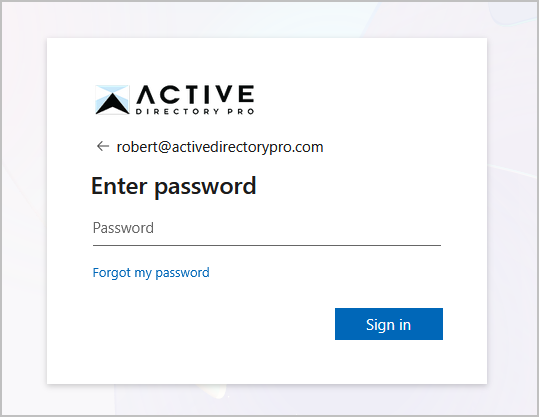
Section titled “Add logo to Microsoft 365 sign in page”In this example, I’ll add the company logo to the sign in page.
-
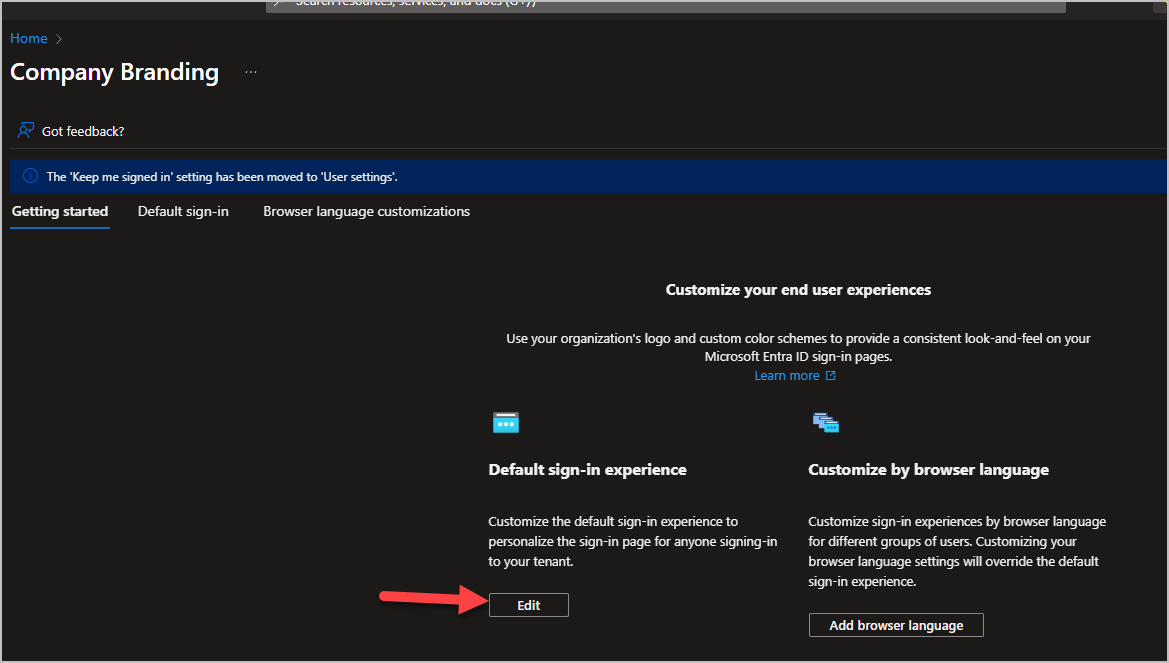
Sign into Sign into the Microsoft Entra Admin Center
-
Go to
Entra ID>Custom branding -
Click edit under default sign-in experience
-
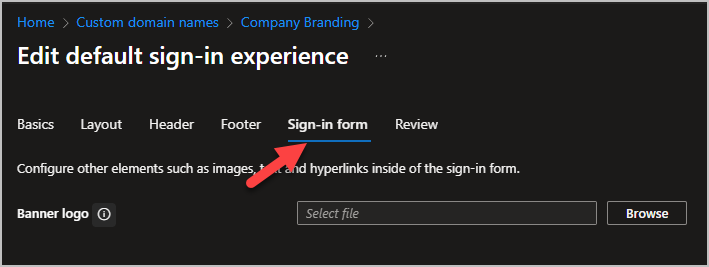
Click sign-in form
-
For Banner logo browse and select your image and click save.
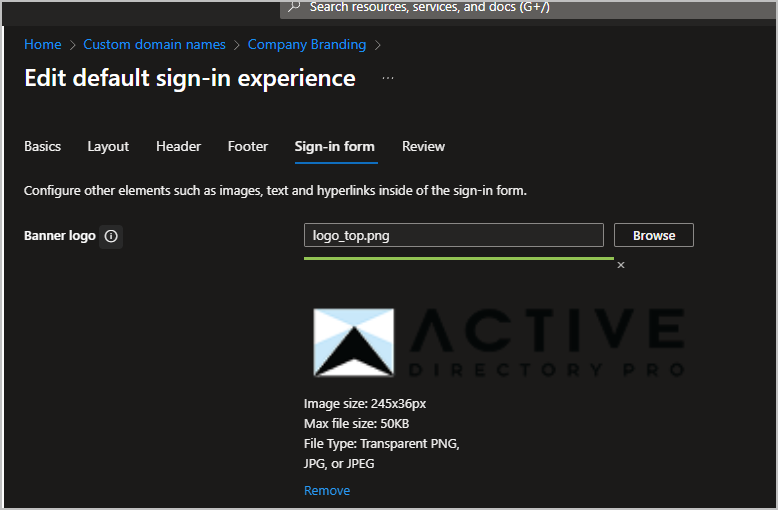
Your company logo should now appear on the sign in page.
To learn more about customizing the sign in page, see Configure your company branding.
Add theme logo to Microsoft 365 pages
Section titled “Add theme logo to Microsoft 365 pages”The theme logo will appear on specific Microsoft pages such as the admin center and 365 portal.
-
Sign into the Microsoft 365 Admin Center
-
Go to
Settings>Org setting -
Click on
Organization ProfilethenCustom themes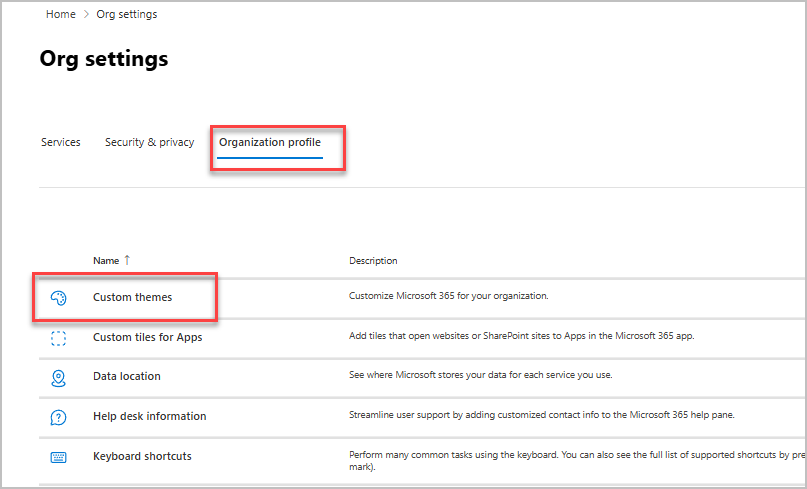
-
Click Add theme or edit an existing theme.
-
Click on Logos
-
For Default logo browse and select your logo and click save.
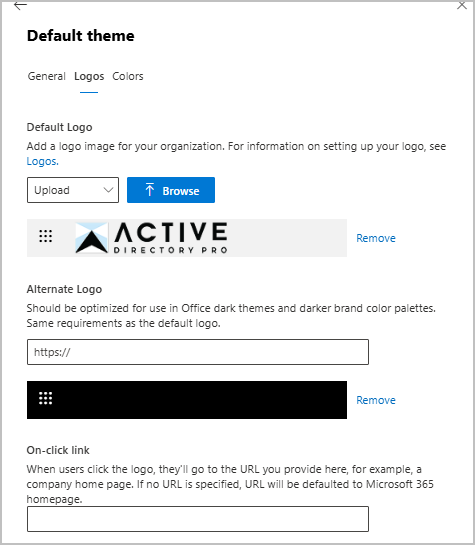
All done. Your logo will now appear in the upper left corner on various 365 pages.
To learn more about customizing the the theme, see Customize the Microsoft 365 theme for your organization.
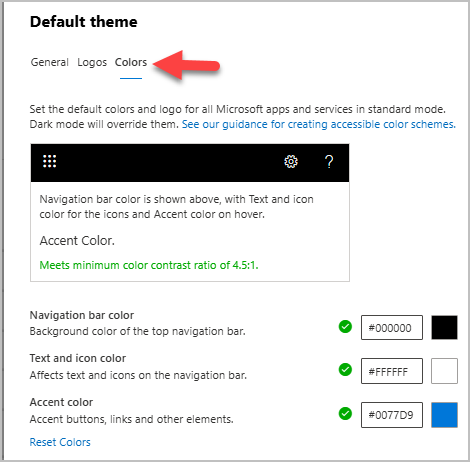
Modify 365 Theme Colors
Section titled “Modify 365 Theme Colors”To modify the navigation bar colors follow these steps.
- Sign into the Microsoft 365 Admin Center
- Go to
Settings>Org setting - Click on
Organization ProfilethenCustom themes - Click on Colors then modify the colors and click save.