Convert user mailbox to a shared mailbox
This guide walks through how to convert a user mailbox to a shared mailbox. You will also learn how to bulk convert user mailboxes to a shared mailbox using PowerShell.
In Microsoft 365, user mailboxes are meant for individual users, while shared mailboxes are designed to be accessed by multiple people. Converting a user mailbox to a shared mailbox is common when an employee leaves or when a mailbox needs to be shared without assigning a license.
Convert a user mailbox to a shared mailbox
Section titled “Convert a user mailbox to a shared mailbox”-
Log into the Microsoft 365 Admin Center
-
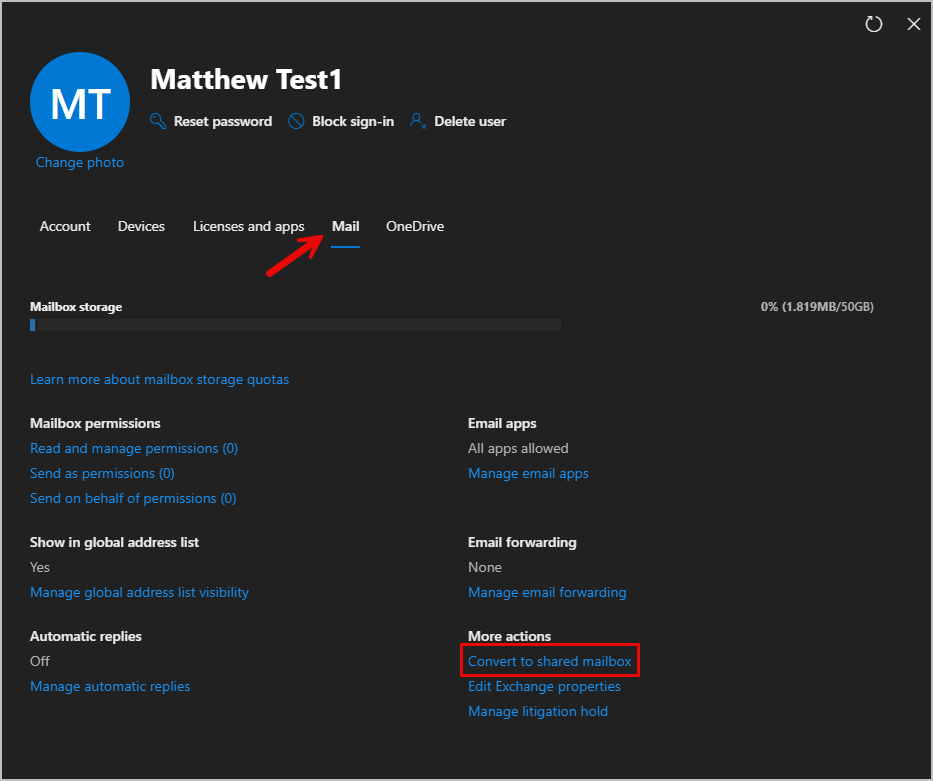
Select the user, go to the Mail tab then select Convert to shared mailbox.
-
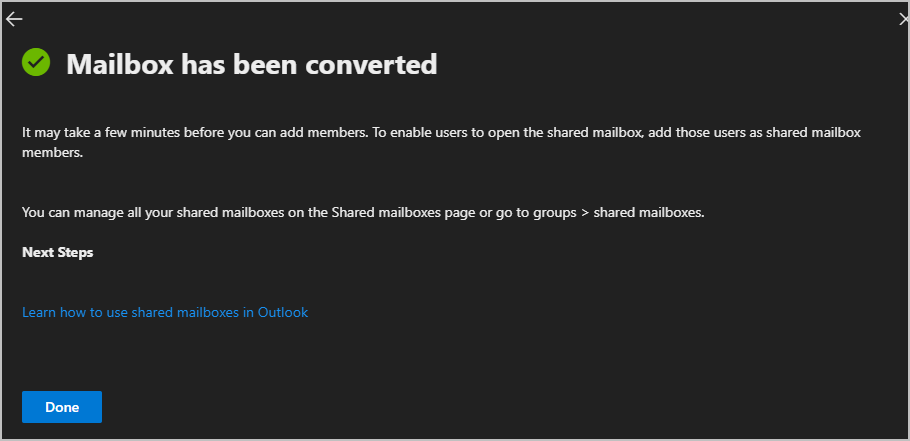
Select Convert to convert the mailbox. When it is completed you will get a message like below.
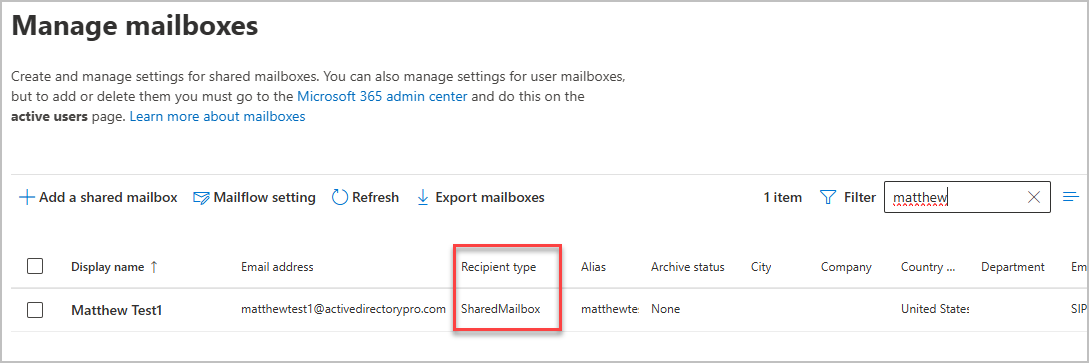
You can verify its a shared mailbox by viewing the recipient type in the Exchange Admin Center.
-
If the mailbox is under 50 GB, you can remove the license from the user and stop paying for it. Do not delete the user account, the mailbox needs it to stay in place. If the mailbox belongs to an employee who is leaving, make sure you also block sign in or take other steps so they can’t log in anymore.
Convert the mailbox of a deleted user
Section titled “Convert the mailbox of a deleted user”This example, walks through how to convert a mailbox of a deleted user.
-
Restore the user account, refer to how to restore 365 user for step by step instructions.
-
Reset the user’s password
-
Wait about 20-30 minutes for the mailbox to be recreated.
-
Once the mailbox is back online, remove the license but do not delete the user account as the shared mailbox needs it.
-
Add members to the shared mailbox.
Convert a shared mailbox back to a user’s mailbox
Section titled “Convert a shared mailbox back to a user’s mailbox”-
Log into the Microsoft Exchange Admin Center
-
Select Recipients > Mailboxes
-
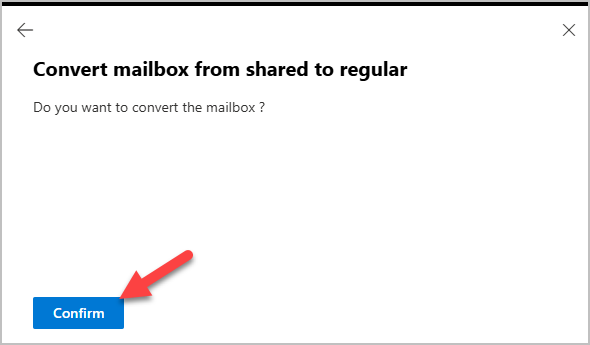
Select the user, then go to the Others tab then select Convert to regular mailbox.

-
Select Confirm on the Convert mailbox from shared to regular page.
-
Go back to the admin center and navigate to Users. Select the user account associated with the old shared mailbox. From there, open Licenses and apps, assign the appropriate license, and then reset the account password.
Bulk convert user mailbox to shared mailbox with PowerShell
Section titled “Bulk convert user mailbox to shared mailbox with PowerShell”This example, walks through converting multiple user mailboxes to a shared mailbox using a CSV file and PowerShell.
-
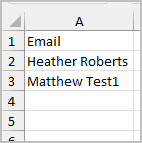
Create a CSV file with an Email column, then add the display names of the mailboxes you want to convert.
-
Save the file as a csv and remember the location where it’s saved.
-
Open powershell and connect to the Exchange Management Shell.
Terminal window Connect-ExchangeOnline -UserPrincipalName "YourEmail@Email.com" -
Run the command below to verify the current mailbox types. Change the path to your saved CSV file.
Terminal window Import-csv "C:\IT\BulkConvertMailbox.csv" | foreach {Get-Mailbox -Identity $_.Email} | ft DisplayName, RecipientTypeDetails
-
Run the script below to bulk convert user mailboxes to shared mailboxes. Change the path to your CSV file.
Terminal window Connect-ExchangeOnline -UserPrincipalName "your UPN"$MailboxNames = "C:\IT\BulkConvertMailbox.csv"Import-Csv $MailboxNames | foreach-object {$Email = $_.Email$Mailbox = Get-Mailbox -Identity $email -ErrorAction SilentlyContinueSet-Mailbox -Identity $Email -Type Shared -ErrorAction SilentlyContinueWrite-Host "Mailbox '$Email' converted to a shared mailbox successfully." -ForegroundColor Green}When the command completes wait a few minutes and then check the mailbox types. You can see the two user mailboxes have been converted to a shared mailbox.

Conclusion
Section titled “Conclusion”Changing a Microsoft 365 user mailbox to a shared mailbox is a simple and effective way to keep email access without using a license. Once converted, multiple people can access the mailbox making it ideal for shared inboxes like support accounts. Always double-check that the conversion completed successfully to ensure everything continues to work as expected.