Assign Admin Roles to users in Microsoft 365
Assigning admin roles in Microsoft 365 lets you control what users can see and manage without giving them full access to everything. In this article, you will learn how to assign admin roles to users in the Microsoft 365 Admin Center and using Powershell.
Assign Role with 365 Admin Center
Section titled “Assign Role with 365 Admin Center”-
Log into the Microsoft 365 Admin Center
-
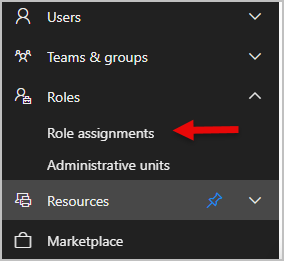
Go to Roles > Role assignments
-
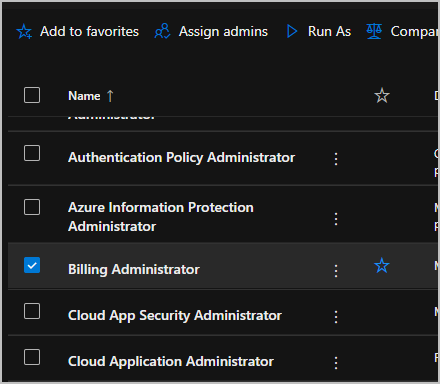
Choose the administrator role you want to give to the user. In this example im assigning a user to the Billing Administrator role.
-
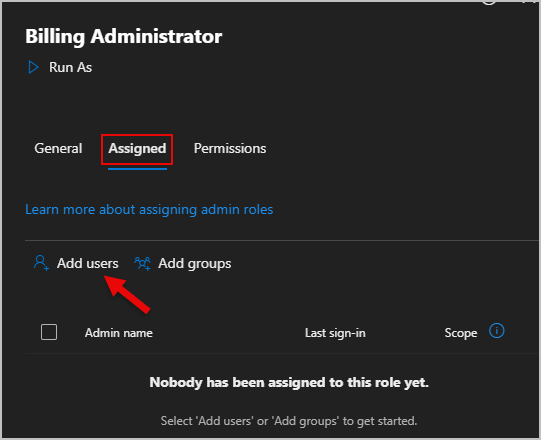
Go to the Assigned tab then select Add users
-
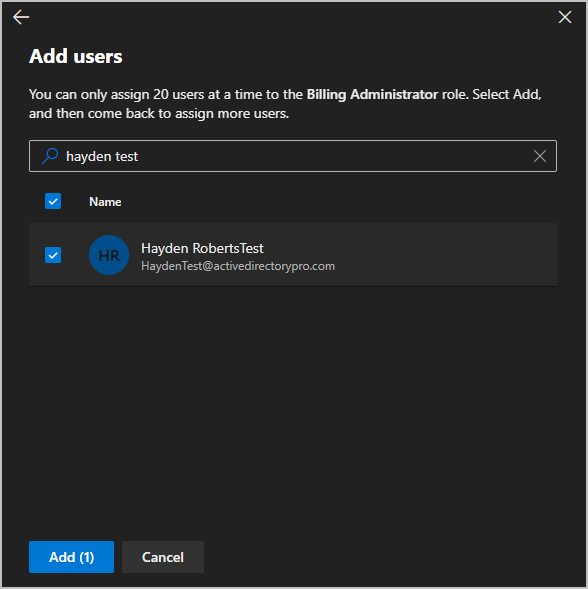
Search for the user then select add to assign the role.
Assign Role with PowerShell
Section titled “Assign Role with PowerShell”-
Install graph module if you don’t already have it installed.
Terminal window Install-Module -Name Microsoft.Graph -Scope CurrentUser -
Connect to Microsoft graph
Terminal window Connect-MgGraph -Scopes User.ReadWrite.All, Directory.AccessAsUser.All -
Assign the role. Change Billing Administrator to the role you are wanting to assign. Then replace user@domain.com with the user’s email.
Terminal window New-MgDirectoryRoleMemberByRef -DirectoryRoleId (Get-MgDirectoryRole | Where DisplayName -eq "Billing Administrator").Id -BodyParameter @{ "@odata.id" = "https://graph.microsoft.com/v1.0/directoryObjects/$((Get-MgUser -UserPrincipalName user@domain.com).Id)" }
-
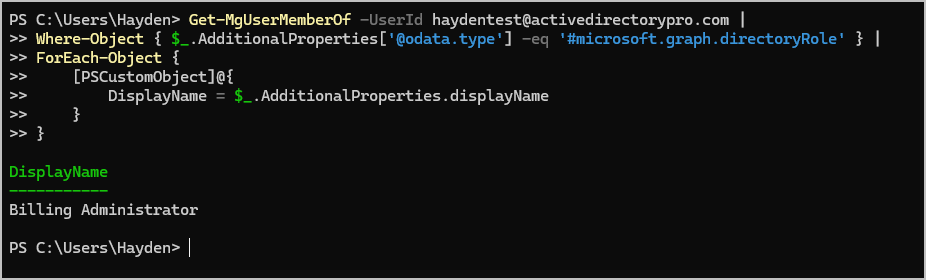
To verify the user was added use this command. Replace user@domain.com with the user’s email. If the role you assigned shows up then they were added.
Terminal window Get-MgUserMemberOf -UserId user@domain.com |Where-Object { $_.AdditionalProperties['@odata.type'] -eq '#microsoft.graph.directoryRole' } |ForEach-Object {[PSCustomObject]@{DisplayName = $_.AdditionalProperties.displayName}}