Add or Remove Users to Groups in Microsoft 365
In this article, you will learn how to add and remove users from groups in Microsoft 365 using both the admin center and PowerShell. You will also learn how to allow other users (non-admins) to manage and update group membership.
Prerequisites
Section titled “Prerequisites”- Who can modify group members
- Global Administrator
- Group owner
- User Administrator
Add a member to a group in the admin center
Section titled “Add a member to a group in the admin center”-
Log into the Microsoft 365 Admin Center
-
Go to Teams & Groups > Active teams & groups
-
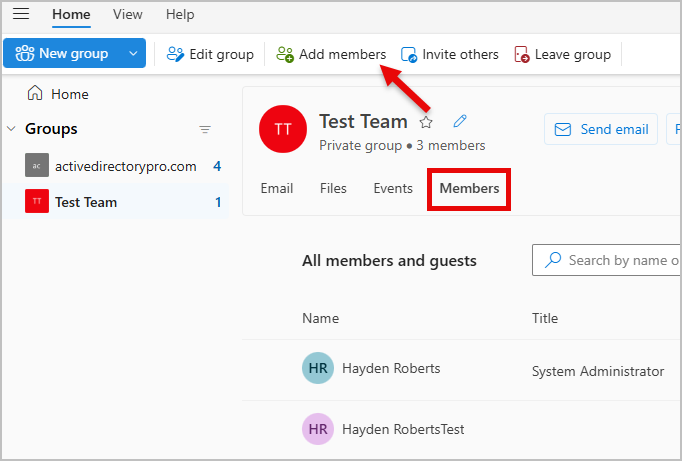
Click the group you want to add a user to.
-
Select the Membership tab, then select the members. Select Add members
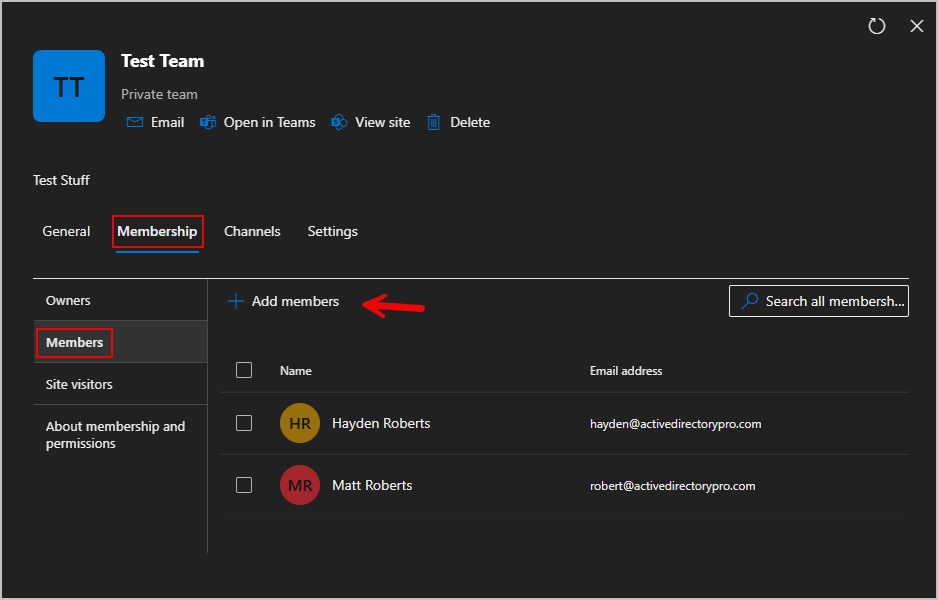
-
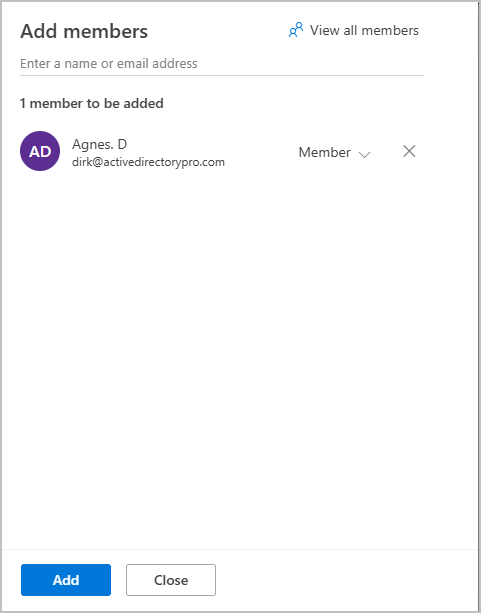
Search the accounts name, then select add at the bottom to add the account.
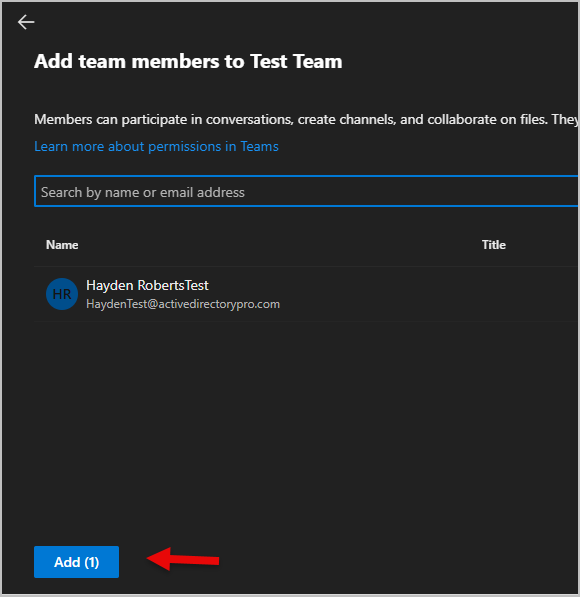
-
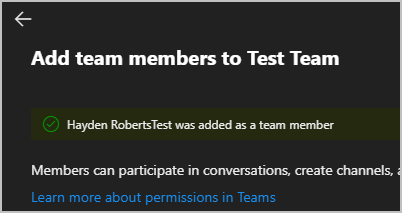
A green confirmation message will appear at the top if the user is added successfully.
Remove a member from a group in the admin center
Section titled “Remove a member from a group in the admin center”-
Log into the Microsoft 365 Admin Center
-
Go to Teams & Groups > Active teams & groups
-
Select the group you want to remove a user from.
-
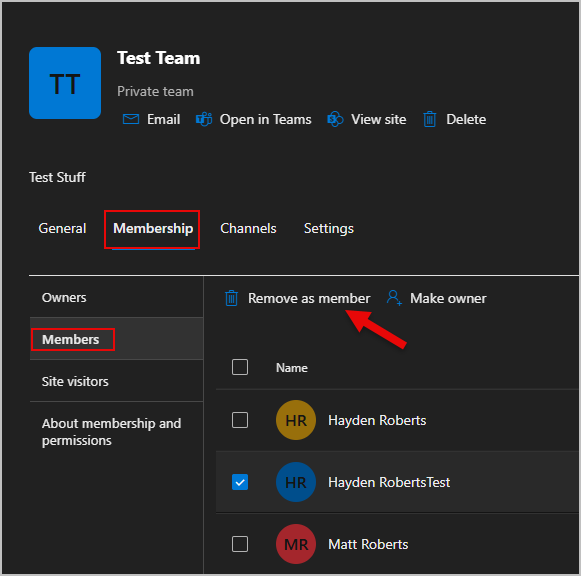
Select the Membership tab, then select the members.
-
Click the user you want removed, select Remove as a member
Allow other users to manage groups
Section titled “Allow other users to manage groups”In this section you will learn how to give another user (non-admin) permissions to manage groups (add and remove members)
-
In the Admin Center, to to Teams & Groups > Active teams & groups
-
Find the group you want to add an owner to.
-
Select the Membership tab, then select members. Go to Add members
Search for the account and add it as a member.
-
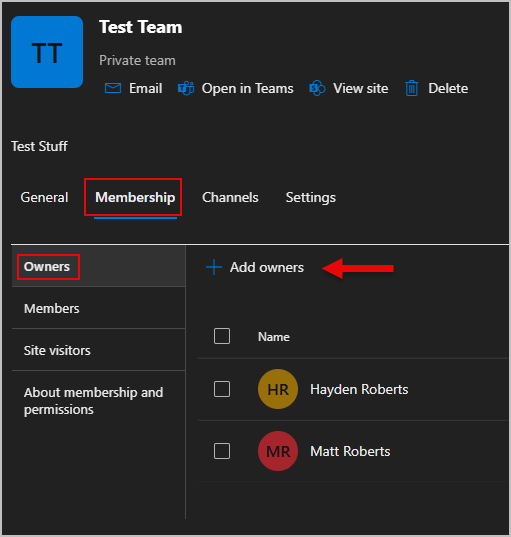
Select the Membership tab then go to Owners. Click on Add owners
-
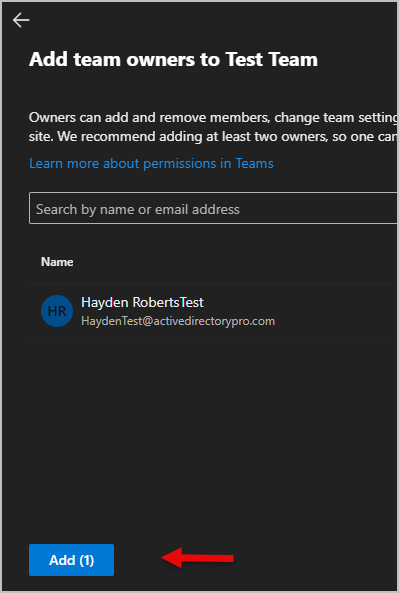
Search the accounts name, then select add at the bottom to add the account to add as an owner. (You have to add the account as a member and an owner)
-
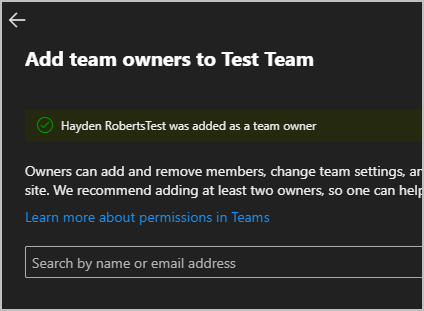
A green confirmation message will be shown at the top if the user was added as an owner successfully
How to manage groups as a non-admin
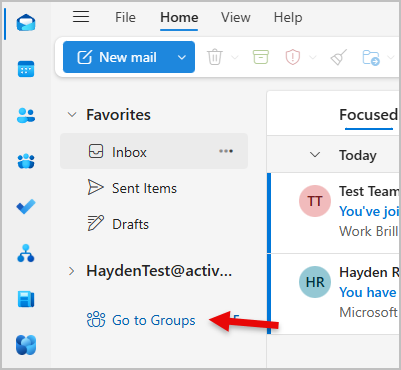
Section titled “How to manage groups as a non-admin”When you’re an owner of a Microsoft 365 group but not an admin, you can’t manage it in the admin center. Instead, you’ll need to manage the group using Outlook.
-
Open outlook
-
Select Go to Groups
-
Go to the group you want to add a member to. Select the Members tab then Add members at the top.
-
Search the user then select add to add the account to the group.
Add user to a group with PowerShell
Section titled “Add user to a group with PowerShell”To add a user to a group using PowerShell you need the Group ID and the User ID.
-
Install Microsoft Graph (skip to step 2 if already installed)
Terminal window Install-Module -Name Microsoft.Graph -Scope CurrentUser -
Connect to Microsoft graph
Terminal window Connect-MgGraph -Scopes User.ReadWrite.All, Directory.AccessAsUser.All -
Get the Group ID and the User ID.
Group ID
Terminal window Get-MgGroup -Filter "displayName eq 'Group Name'"
User ID
Terminal window Get-MgUser -UserId user@domain.com
-
Now take the Group ID and the User ID and use them in the command below to add a user to a group.
- GroupID = Group ID
- DirectoryObjectID = User ID
Terminal window New-MgGroupMember -GroupId <GroupID> -DirectoryObjectId <UserID>
-
The account will now be added to the group.
-
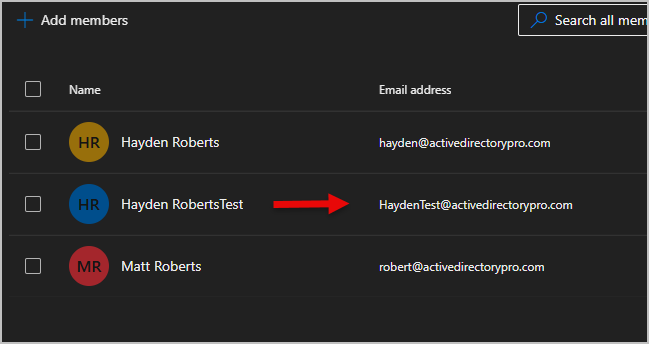
Below is the command to list group members with powershell.
Terminal window Get-MgGroupMember -GroupId $Group.Id | Select DisplayName, UserPrincipalName
Remove user from a group with PowerShell
Section titled “Remove user from a group with PowerShell”Removing a user from a Microsoft 365 group uses the same first steps as adding a user.
-
Connect to Microsoft Graph.
-
Get Group ID.
-
Get User ID.
-
Use the command below to remove a user once you have the Group ID and User ID
Terminal window Remove-MgGroupMember -GroupId <GroupID> -DirectoryObjectId <UserID>
