Add an email alias address in Microsoft 365
In this article, I will show you how to add another email alias to a user account using Microsoft 365 Admin Center and PowerShell.
How to add another email alias to a user using Microsoft 365
Section titled “How to add another email alias to a user using Microsoft 365”You must be have a user administrator role to add an email alias for a user.
-
Sign into the Microsoft 365 Admin Center
-
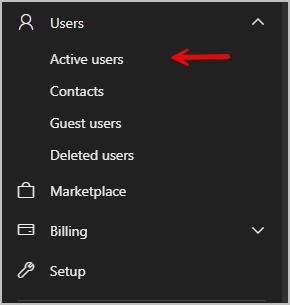
Go to Users > Active Users
-
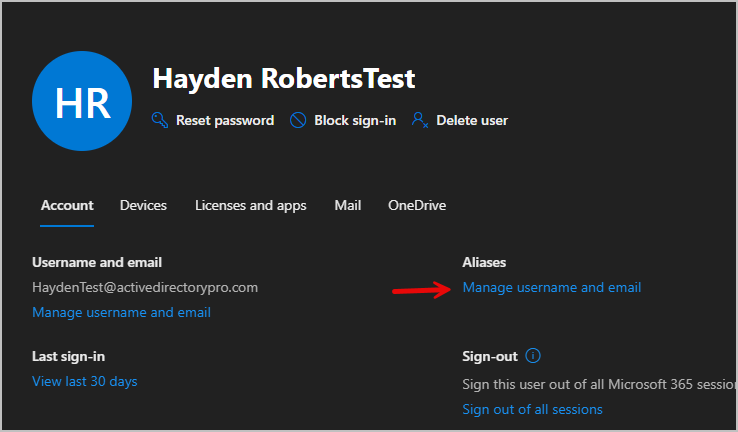
Select the user you want to manage, then under Aliases select Manage username and email. You will only see this option if the account has a license assigned to them.
-
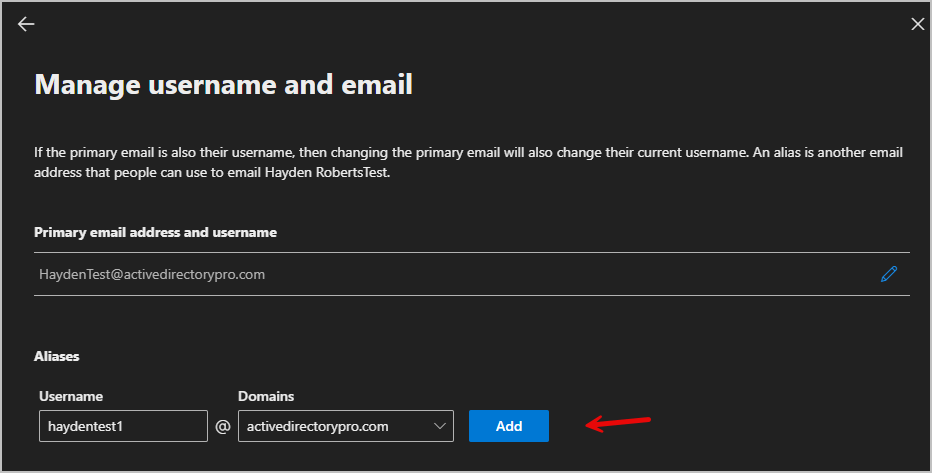
In the aliases section add the username, select a domain and choose add.
-
Choose save changes, it can take up to 24 hours for the new aliases to update.
-
The user now has a main email address and an alias. Emails sent to haydentest@activedirectorypro.com or haydentest1@activedirectorypro.com will both go to the same inbox. When the user replies, the email address used depends on Outlook. Outlook on the web replies from the address that received the email, while Outlook desktop replies from the main email address.
How to add another email alias to a user using PowerShell
Section titled “How to add another email alias to a user using PowerShell”-
Install Microsoft Graph (skip to step 2 if already installed)
Terminal window Install-Module -Name Microsoft.Graph -Scope CurrentUser -
Connect to Microsoft graph
Terminal window Connect-MgGraph -Scopes User.ReadWrite.All, Directory.AccessAsUser.All -
Add the email alias.
Terminal window Set-Mailbox user@domain.com -EmailAddresses @{add="alias@domain.com"}
-
Run the command below to verify the alias was added.
Terminal window Get-Mailbox user@domain.com | Select-Object -ExpandProperty EmailAddresses